When hearing the word graphic eyeliner tutorial – other words come to mind Iconic, Beauty Staple, Graphic Eyeliner Look and even Show Stopping. As early as 10,000 BC, women started using eyeliner, and it’s since become one of the most recognizable shortcuts to instant glamour in the beauty world. Whether you’re a fan of subtle, barely-there lines or this season’s dramatic winged looks, when it comes to self-expression, nothing says confidence like a flick of expertly applied eyeliner.
A Short History of Graphic Eyeliner
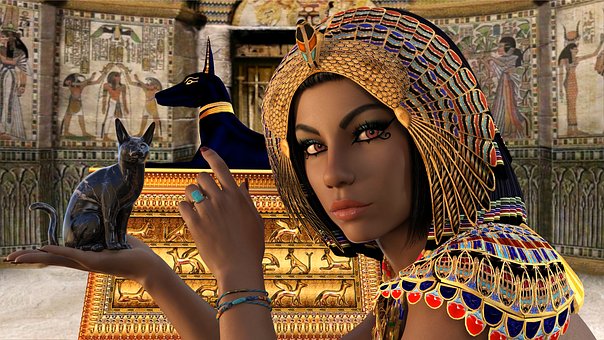
I love History – knowing where things come from, how they started excite me and make me passionate about what I am writing about. Eyeliner has an amazing colorful and entertaining History. It all started 12,000 years ago in Mesopotamia and Egypt. Women and men of high status (and later on everyone) used an ancient version of eyeliner to define their eyes. It was also thought to protect the delicate eye area from wrinkles that may be formed by constant exposure to the desert sun and wind. Eyeliner represented not only status and fashion, but also a connection to religion, a devotion that led to many regarding it as a sign of holiness.
The basic ingredients in eyeliner are lanolin, castor oil, waxes, and color. The color can be activated charcoal and/or mineral pigments. In Ancient times – heavy metals like lead/ copper were used and I am grateful that these ingredients are now banned!
In Egypt more makeup meant a bigger social status so they would apply Kohl liner from their waterline into the actual hairline (creating a cat eye look). Bare in mind that today so many of us have sensitive eyes (me included) and you might benefit from reading my previous post on the importance of knowing ingredients in your makeup and why cruelty free products are really invaluable to sensitive skin.
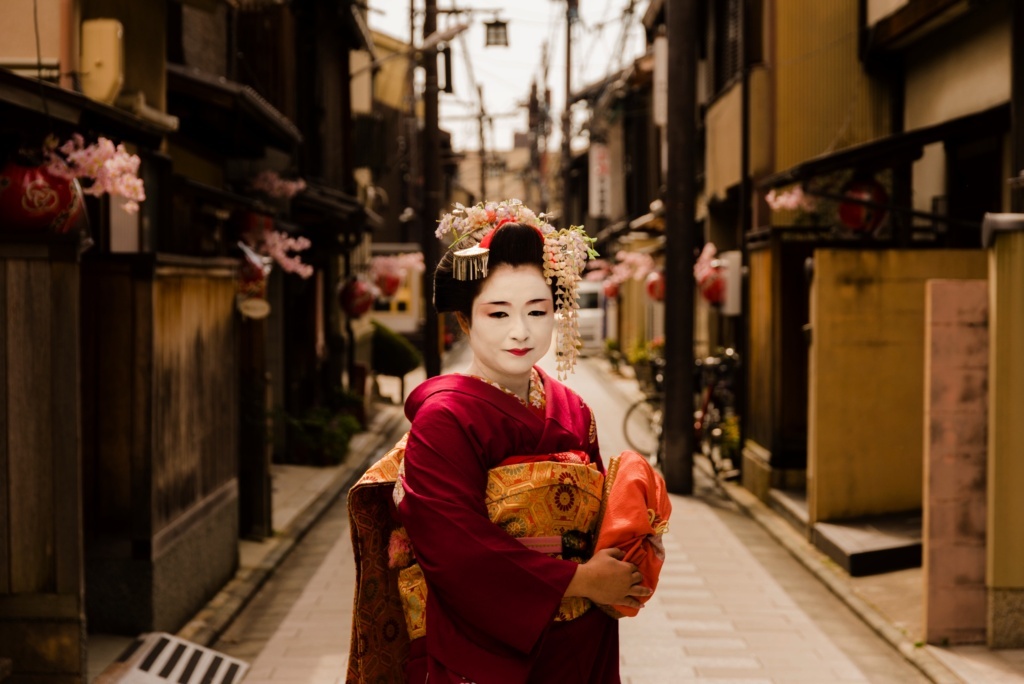
Graphic eyeliner only became popular with Western makeup in the 1920s – there was a bigger focus on rosy lips and pale, powdered complexions. In 1922, however, King Tutankhamun’s tomb was discovered to a huge fanfare. A flurry of interest around Ancient Egyptian culture and style followed this event. It was the kohl version/ smoky look brought on by all the hype from the tomb discovery and not the winged liquid liner which is so prevalent today. In Japan this look was very popular whereby the eyeliner was used by men and women to enhance their status and beauty.
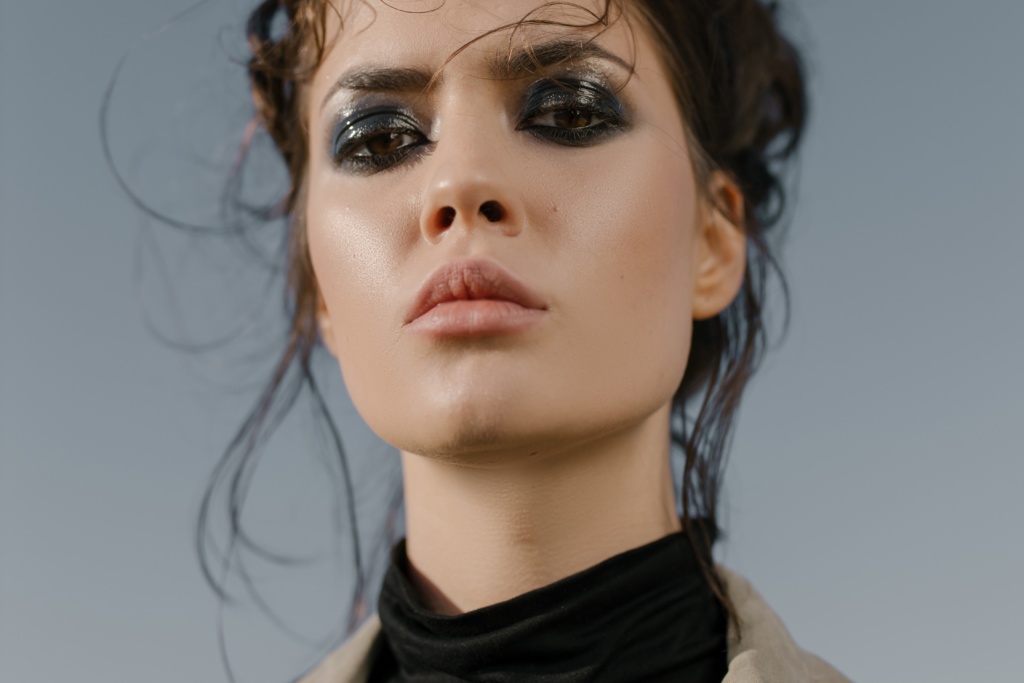
After the initial moderate graphic eyeliner use between 1920s and 1960s, 1970s gave birth to several new fashion types that used eyeliner in new ways. Punk and Gothic fashion relied on dramatic eye effect, and graphic eyeliner, eye shadow and mascara were some of their most used cosmetic products. In the late 20th century, Emo subculture popularized eyeliners in the male population.
Ever since the eyeliner appeared in the modern fashion world, it became popular among females who embraced it and never let it go. Below you will find a graphic eyeliner tutorial because this is one thing that we get asked a lot – how do you get it right? My hand isn’t steady! I am scared I will poke my eye out! Funny but trust me it happens often. So this graphic eyeliner tutorial is for everyone – just some simple tips you can use in 2021. Remember this graphic eyeliner tutorial is just our way of doing things.
Graphic eyeliner tutorial in 2021
Here we go; with that flick of eyeliner whether it is liquid (invented in the 1950s), kohl, gel, glitter or eyeshadow it enhances any eye look. It is powerful adding definition to your eyes making a lasting first impression and now especially in 2021 we need to feel confident. Here is a graphic eyeliner tutorial on how to apply graphic eyeliner:
- Brush up your brow hairs so that they are all lying in the same direction you can use the brow kit from Glamore Cosmetics with one of the brushes from the Holographic brush set.
- Even out the skin tone on your lids with a neutral-toned powder shadow.
- Deep breath – it’s game time. Armed with either of these two products for a wing liner you cannot go wrong. Just be patient and willing to practice 🙂 oh and try and have a steady hand. The first eyeliner comes with a brush and is probably better suited for beginners. It comes in two shades black and brown and is 100% waterproof. The 2nd product is an eyeliner pen, comes in black and is also waterproof. Looking straight ahead into a mirror, use the flat side of the pen to draw a straight line from the outer corner of your eye, ending it where the crease begins, to create the body of your flick. It’s really important not to stretch the skin while applying eyeliner. If you do, the shape will be completely different when you release the skin.
- Use the flat side of the pen to create the upper line that connects your flick to the lash line. Don’t worry about making a mistake, you can clean up later.
- Drag the line from your flick back toward your lash line, across your lid, and finish at your tear duct.
- Repeat the process on your other eye. It is important that that you follow your eye structure—this will ensure you get the perfect eyeliner flick that will match your eye-shape.
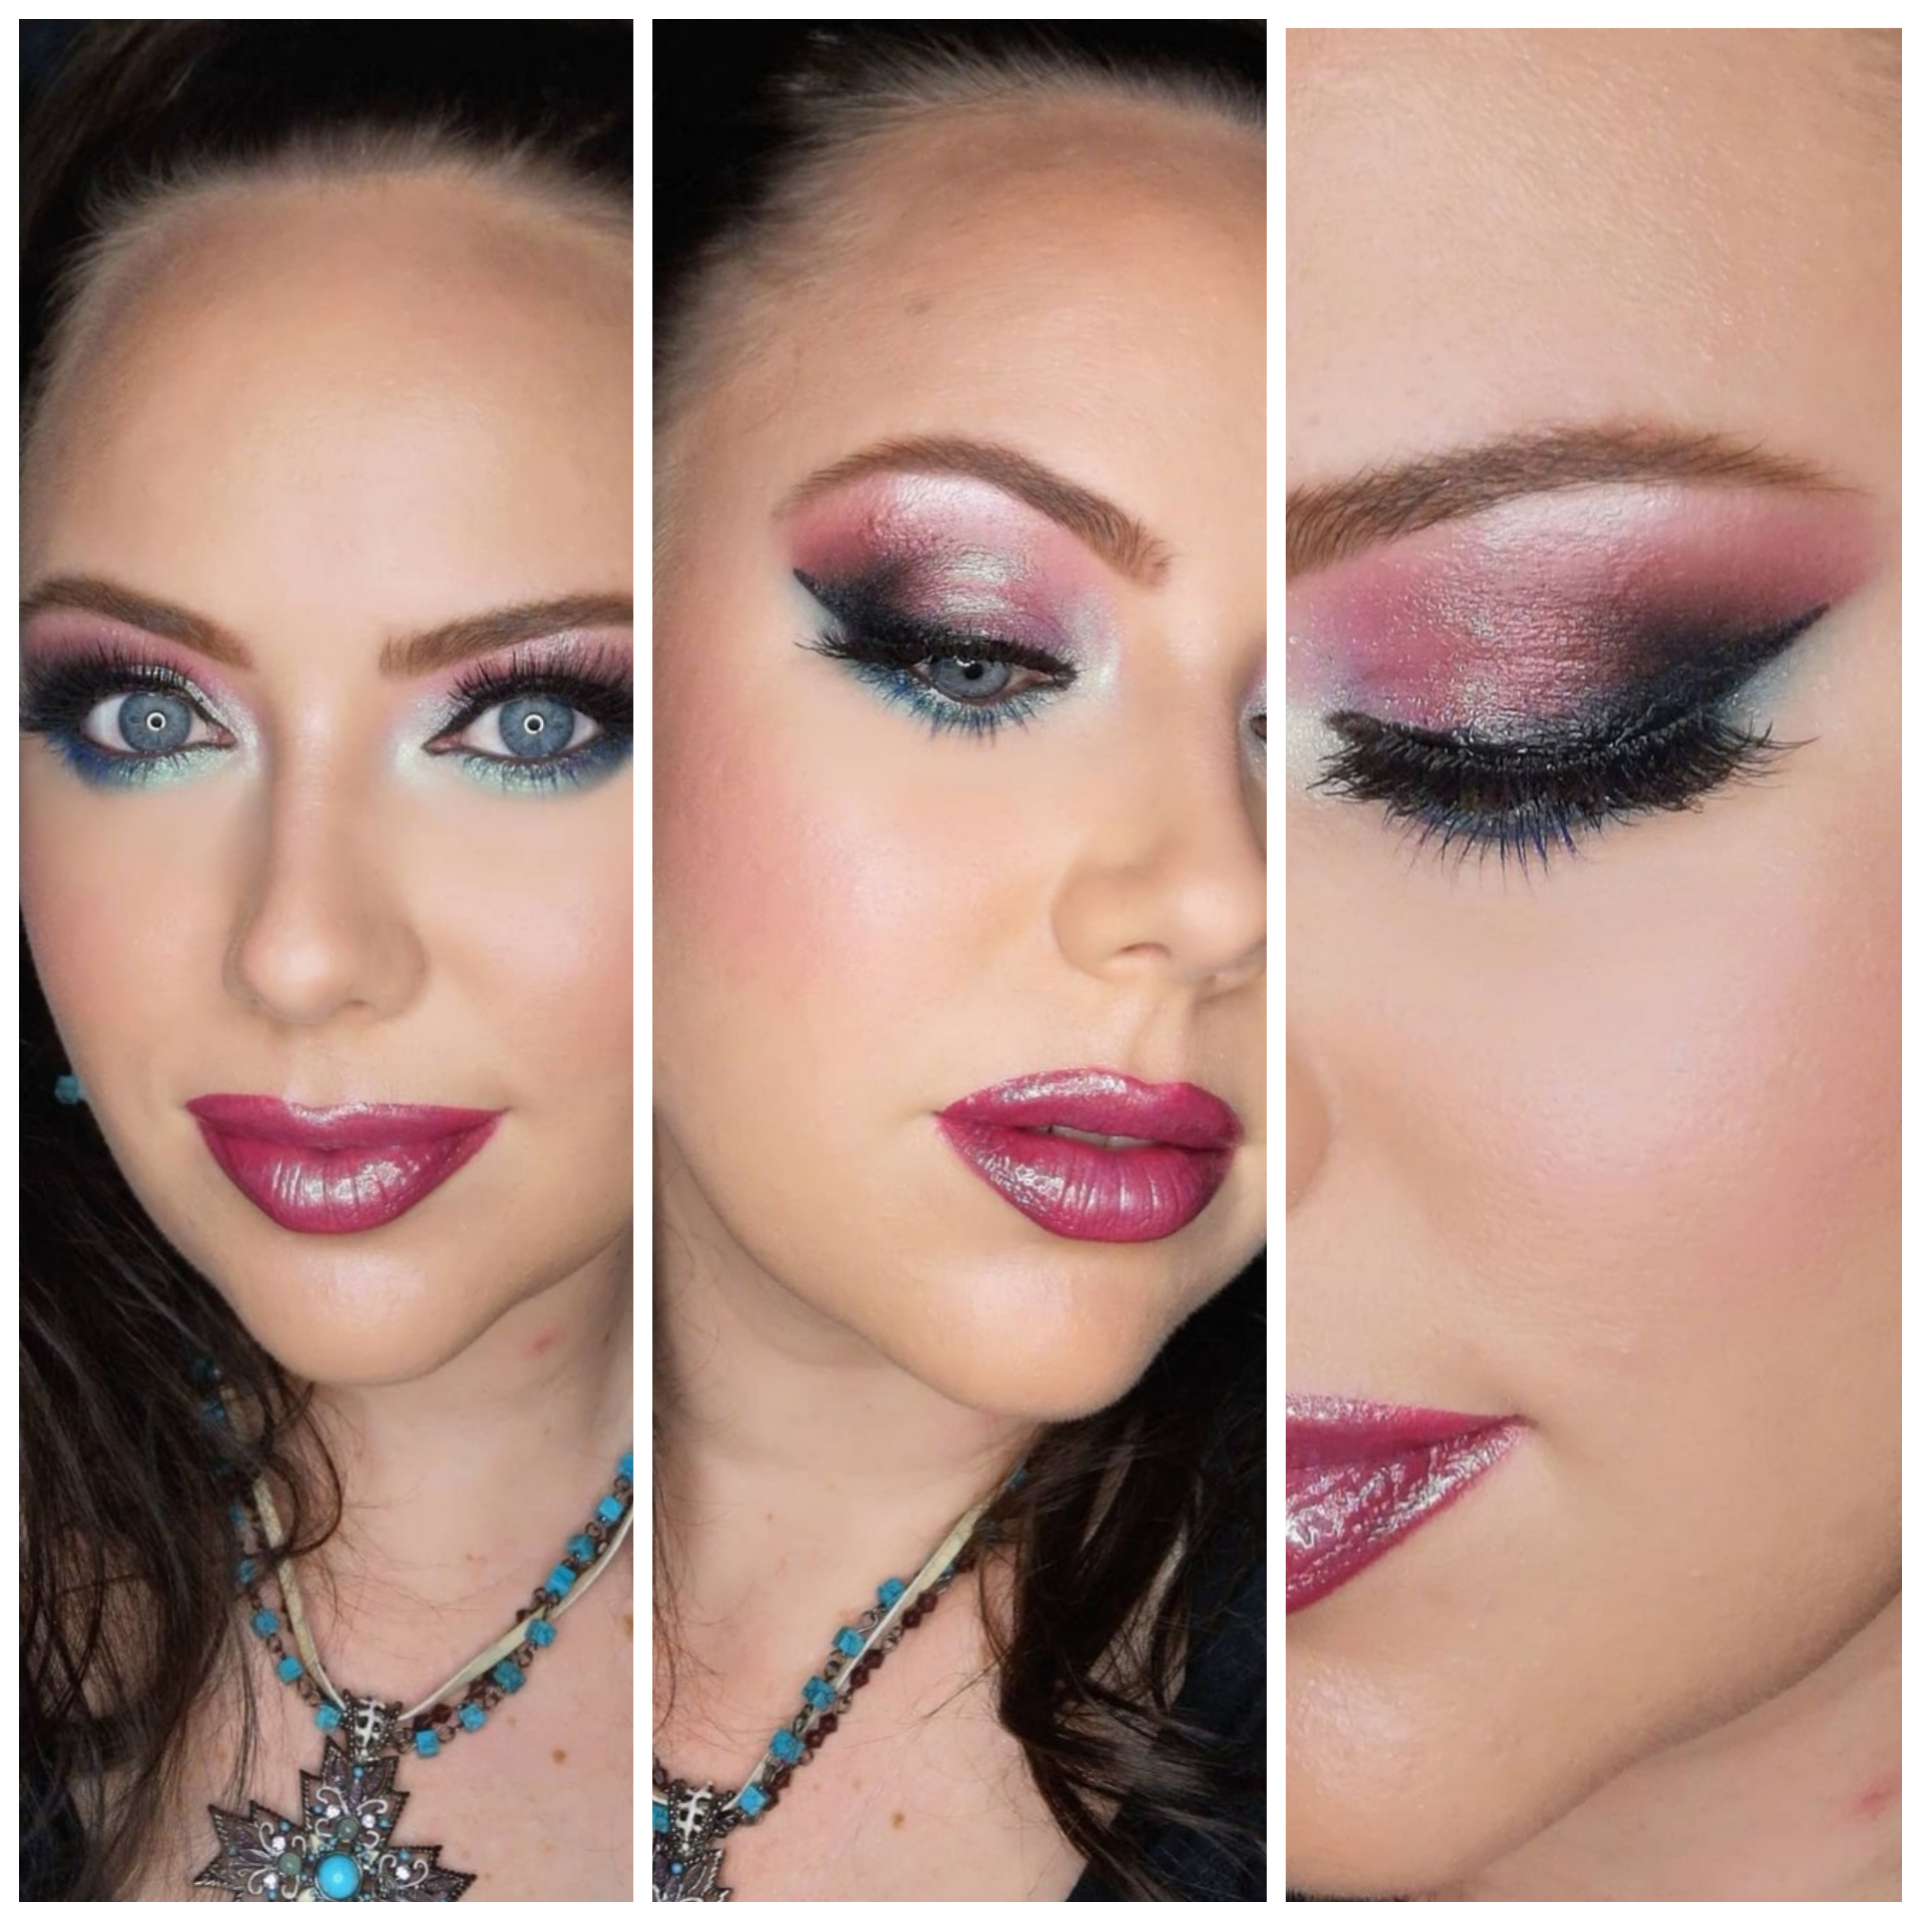
- The below pictures from Shannin and Warren were used with the above tips from the graphic eyeliner tutorial – Warren is a pro! Really he can create double winged liner which is unheard of – that’s how much talent he has.
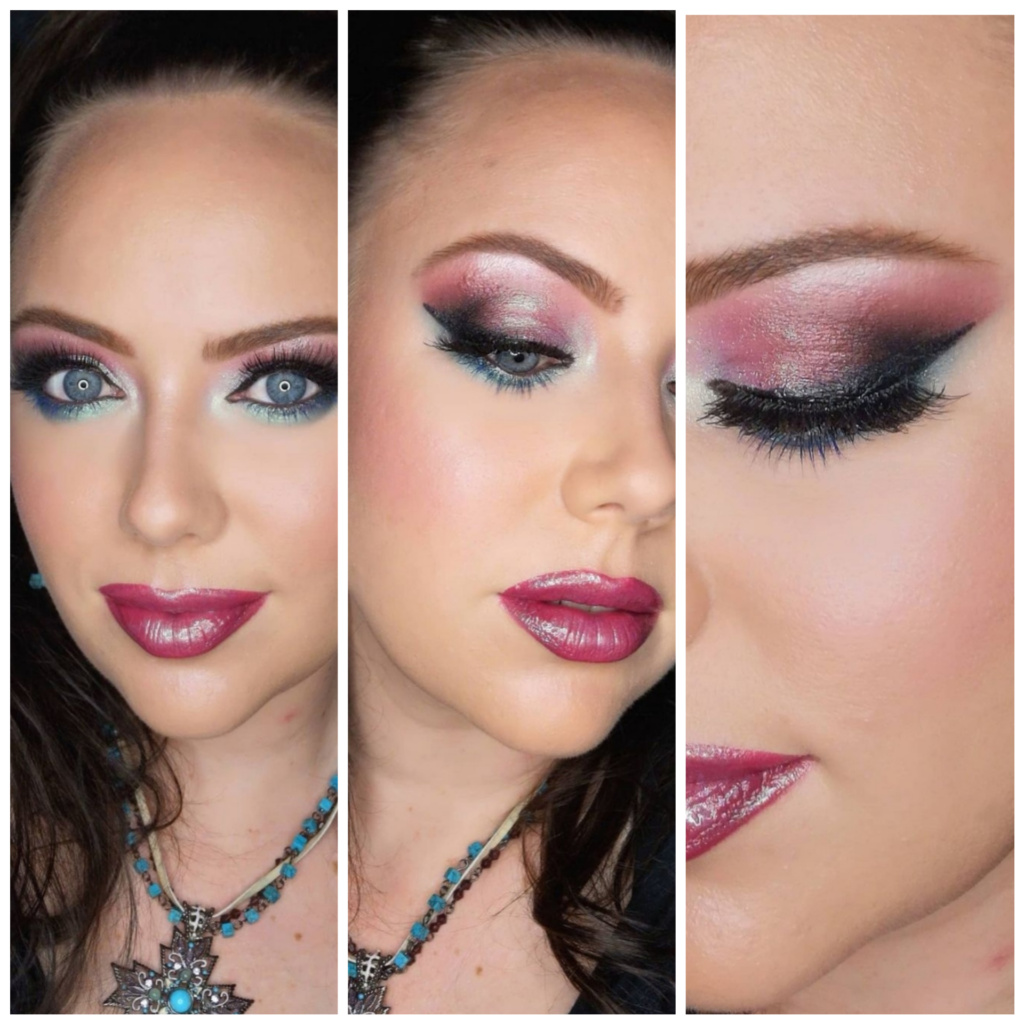
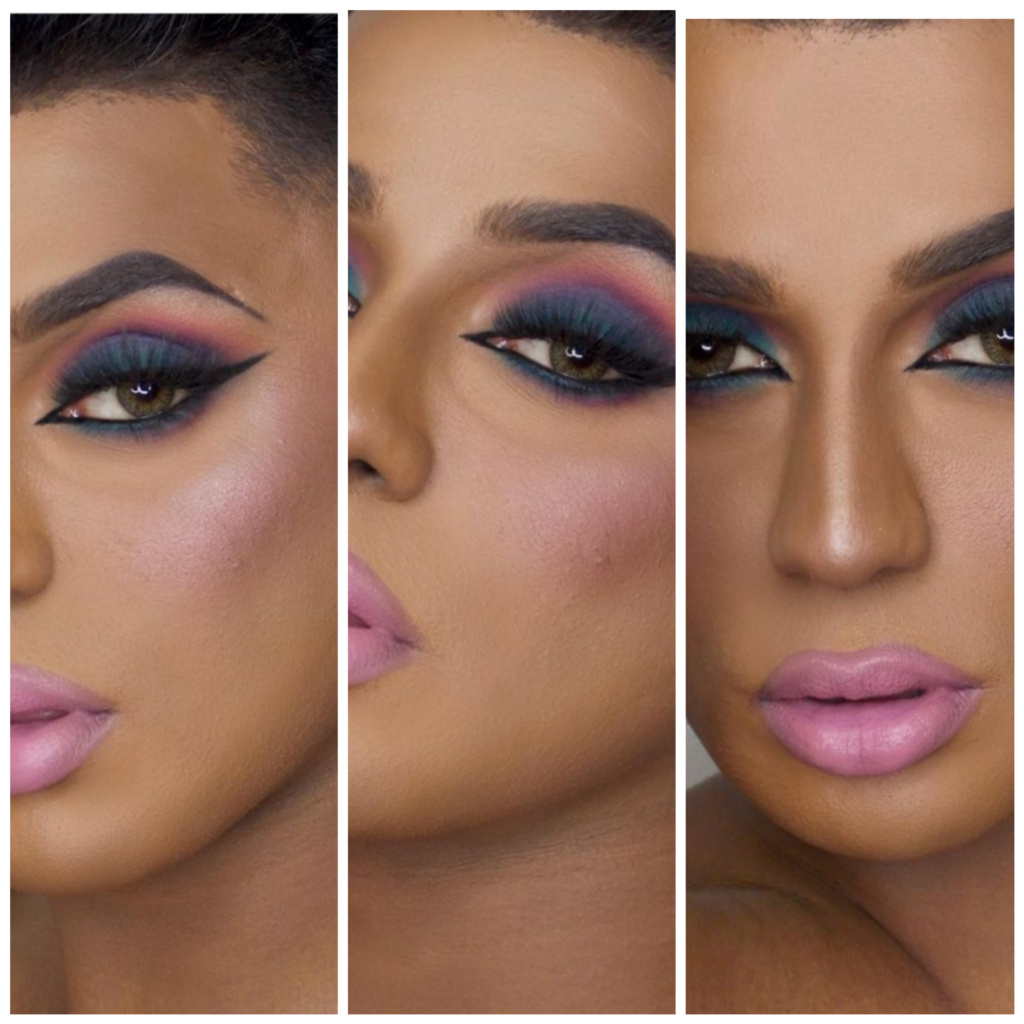
There is no right or wrong way when trying to create a graphic eyeliner look. A graphic eyeliner tutorial is just a way you can do it using ideas and tools that we do. But in the end – you need to find your own way.
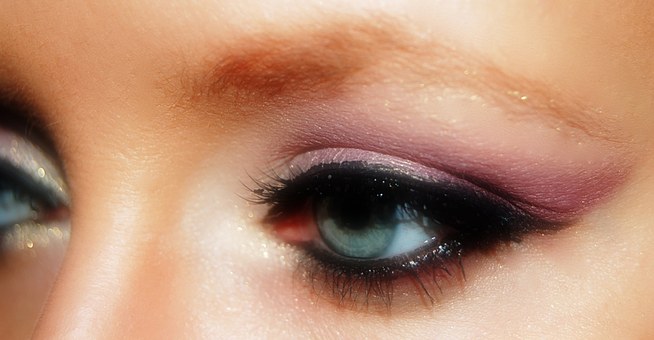
Bonus tips when applying graphic eyeliner to hooded eyes. Hooded eyes make life difficult – I have them too so don’t feel alone. Just know that with the right tools, lots of practice and a bit of smudginess eyeliner can look amazing!
Especially because everyone is wearing masks, eyes are getting lots of attention. So the time is now. Now you can learn to apply graphic eyeliner like a pro. You can practice and get the graphic eyeliner look. You have the right tools you will get it right 🙂 and here are some awesome tips you can incorporate as well.
| Hooded eyes – what is the best shade for me? | Black can be a bit harsh so try brown or blue. |
| Are there any special tricks? | Be open to using an eyeliner stencil or some tape |
| What is the best eyeliner? | Go for ones that are waterproof and do not smudge! |
| Where do I apply the liner? | Start at the point below your eye instead on the top. |
| How do I get bigger eyes? | Instead of ending on a line – smudge it instead to make it softer |
If you need any more tips on applying eyeliner please let me know. Or if you have anything to add leave a comment – we would love to hear from you.
Stay safe.
Dr. Gael